On this article, I will guide you to create an JWT (JSON Web Token) authentication for Adobe. My example will be based on the Admin Console, the user management, because this is one of the few that are supporting the JWT authentication at the moment.
Everything that is going to be explained now is a comprehensive explanation of the documentation available by Adobe : https://github.com/adobeio/adobeio-documentation/blob/master/auth/JWTAuthenticationQuickStart.md
JSON Web Token Explanation
What is JWT ? It is an acronym that stands for JSON Web Token. You send a signed JSON to a service and it returns you a token.
It is much better than the Oauth authentication provided at the moment from Adobe, as the latter forces you to manually load a URL in your browser to retrieve the token. So much for automation.
I always believed that an API should be able to run without any human interference, or as little as possible. JWT identification enables this possibility.
What is required for my JWT ?
First of all, you need to make sure that you have created a connection to the Adobe IO User Management Module with the correct configuration and you still have your private key in order to log to that module.
Don’t worry, we are going to do that together in the following part.
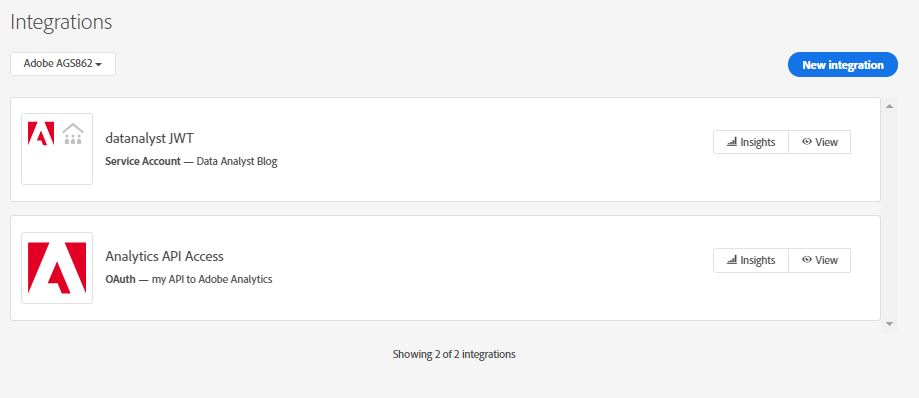
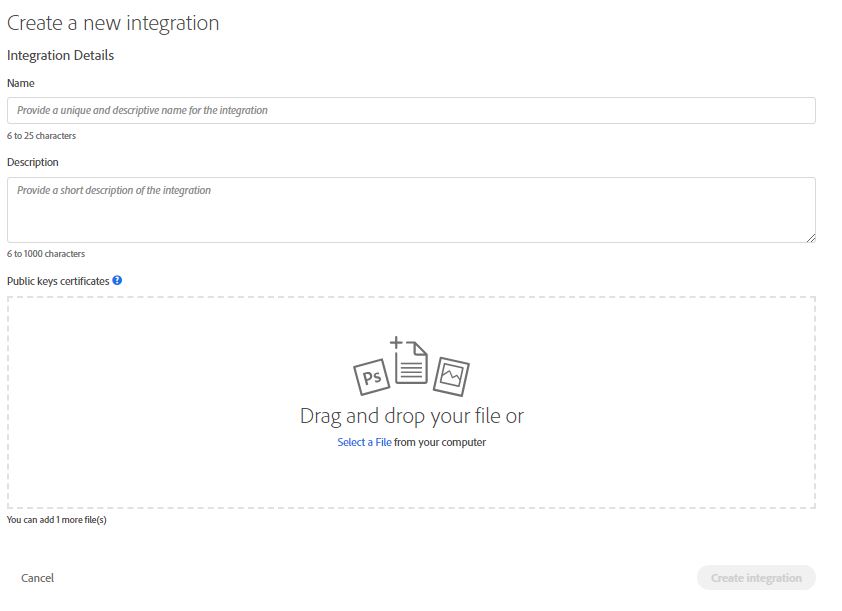
Creating an account with Adobe IO console
You would need to go to integration console interface in order to register your application : https://console.adobe.io/integrations
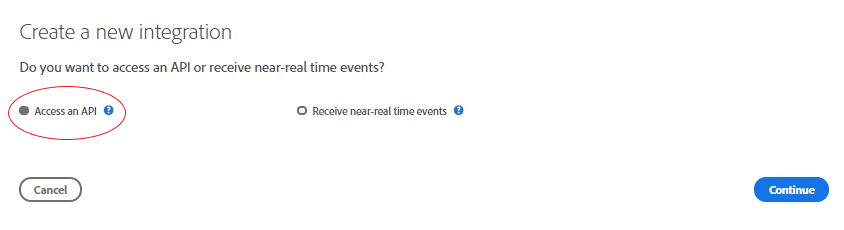
Then you need to click on “New Integration”
The next steps is to actually setup an access to the application of your choice.
On my side, as I explained earlier, I will create a user management API access.
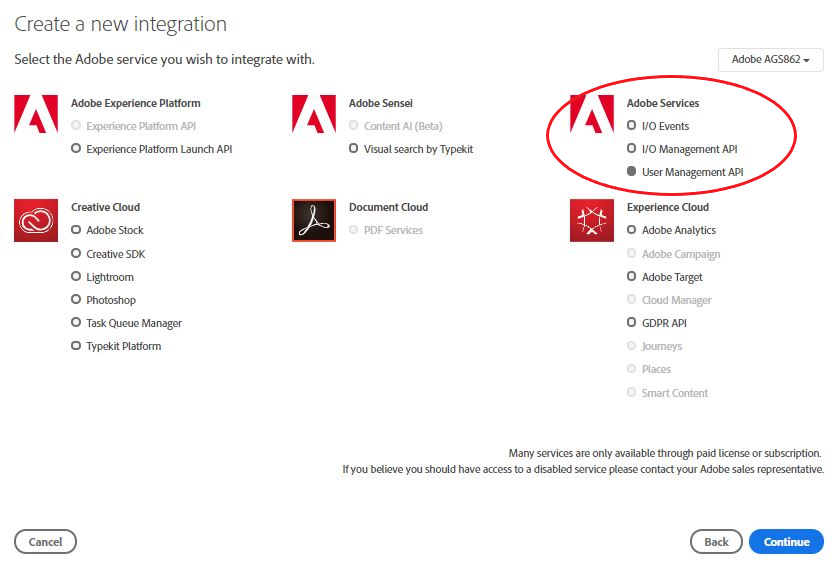
The User Management API has been selected for this demo as it supports the JWT authentication at the moment of that writing (January 2019). In the future, all of the API will support the JWT method. So depending on when you read this tutorial, you may be able to select any API you want.
On the next step, you will provide the key that you have prepared for the connection. The certificate that are supported are .crt, .perm and .der
The full description on how to generate this public key is available on this blog post : generate a CRT file on windows.
Make sure that you have generated the private key and also have a copy unencrypted for your own use.
Information to retrieve from your account
When the account has been created, you will see a possibility to click on it on the IO console.
You can click on that and retrieve these information :
- Your ORG ID
- Your API KEY
- Your TECH ID (something with @tech…)
- Your secret
On top of that, the endpoint that is required for the JWT token creation.
That endpoint being : https://ims-na1.adobelogin.com/ims/exchange/jwt
Python Code
python Configuration
On top of the configuration you have done for your adobe account, you would need to have several libraries installed on your python environment :
- requests (pip install requests)
- jwt (pip install jwt)
As you have your private key available, you will need it to be accessible for your program.
JWT with requests and token retrieval
The code requires to retrieve the JWT is the following :
def retrievingToken(): ## I create a function so it can be reused later on when the time limit has been reached
    with open('privatedatanalyst.key','r') as f: ##reading and storing the private key
        private_key_unencrypted = f.read() ## don't worry it will be encrypted later on
        header_jwt = {'cache-control':'no-cache','content-type':'application/x-www-form-urlencoded'} ## setting the header
    jwtPayload = {
        "exp": round(24*60*60+ int(time.time())),###Expiration set to 24 hours
        "iss": org_id, ###org_id
        "sub": tech_id,###technical_account_id
        "https://ims-na1.adobelogin.com/s/ent_user_sdk": True,
        "aud": "https://ims-na1.adobelogin.com/c/"+api_key ##api_key is your API KEY
    }## I set the different information required in request
    encoded_jwt = jwt.encode(jwtPayload, private_key_unencrypted , algorithm='RS256')##make sure to use the RS256 algo
    payload = {
            "client_id":api_key,
            "client_secret":secret,
            "jwt_token" : encoded_jwt.decode("utf-8")
            }
    response = requests.post(url,headers=header_jwt, data=payload) ##using the requests library to ask for the token
    json_response = response.json()
    token = json_response['access_token'] ## retrieve the token
    expire = json_response['expires_in'] ##retrieving when the token expire
    global date_limit ## getting the scope right
    date_limit= time.time()+ expire/1000 -500 ## end of time for the token, taking 500 s interval
    print('token valid till : ' + time.ctime(time.time()+ expire/1000)) ##show me in the console how long the token is working
    return token
You now have retrieved the token using the JWT authentication method.
As explained before, using this method enable you to bypass human interaction to use the Adobe IO API. Therefore, you can create cron job in order to realize operation at regular time.
I hope this tutorial was helpful and don’t hesitate if you have a question.
In the following queries,
token = json_response[‘access_token’] ## retrieve the token
expire = json_response[‘expires_in’]
what values do we provide for access_token’ and ‘expire_in’ ?
I received your email but couldn’t reply because you didn’t specify an email address.
You don’t need to set the value.
They will be set automatically from the response of Adobe IO.
They will set your token value and the expiration timestamp in seconds.
encoded_jwt = jwt.encode(jwt_payload, private_key_unencrypted , algorithm=’RS256′)##make sure to use the RS256 algo throw TypeError: load_pem_private_key() missing 1 required positional argument: ‘backend’. How to fix it? Thanks!
Try uninstall the pyjwt and re-install them in different orders.
Can you please include the steps/details on how to execute the code which retrieves the JWT and where to install the python libraries ? Sorry if this is a dumb question, but i am new to the Digital Analytics world :).. Appreciate your reply!
Hello Sandy,
Sorry for the delay in my answer, I have been pretty busy.
I believe that for Adobe Analytics 2 python package (the most popular package I published) you will find the information that you want on my github.
https://github.com/pitchmuc/adobe-analytics-api-2.0/blob/master/docs/getting_started.md
In case it is not the case, I would encourage to ask the question in one of the repo in Github (either Wiki or raise a bug).